Experiment with different mediums, tools and techniques
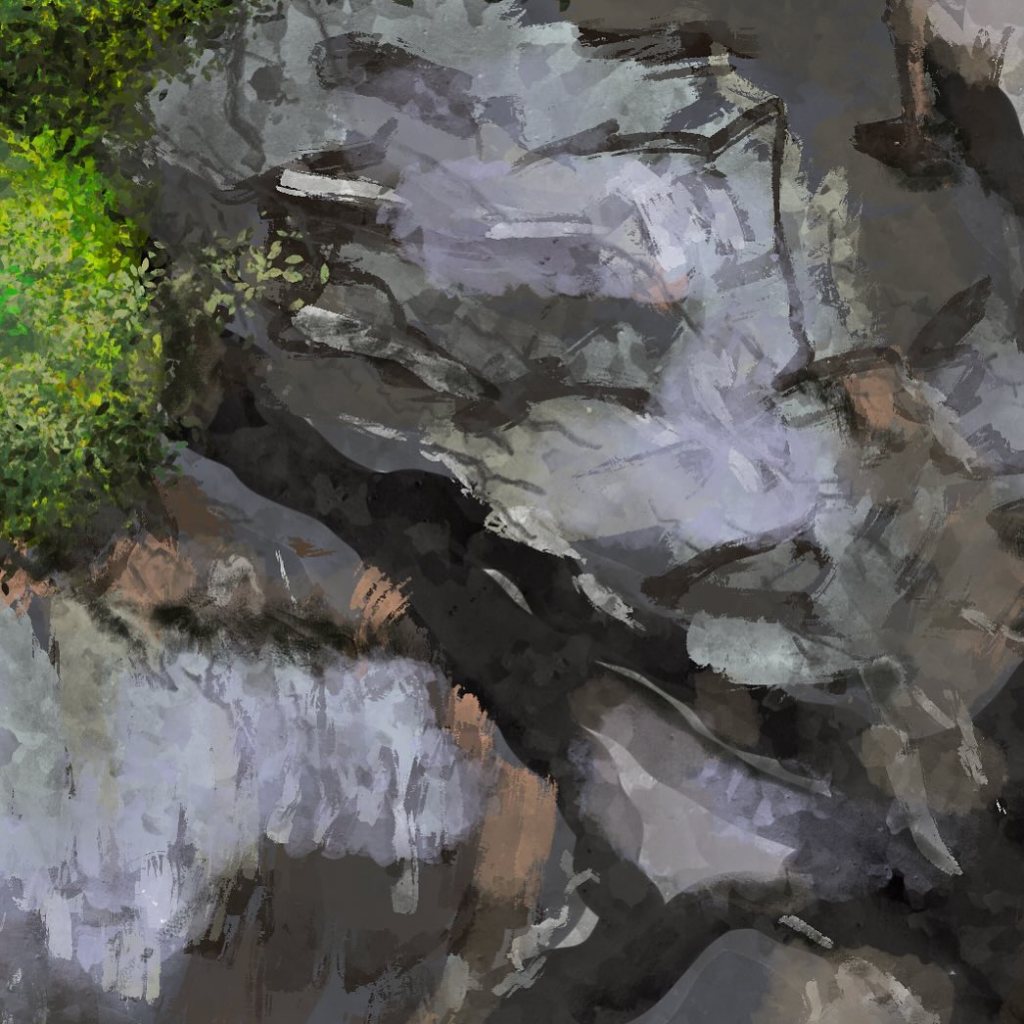
I’ve never been very good at painting or drawing rocks. Trying to capturing the intricate and rugged texture of rocks as the primary subject of my painting threw me right out of my comfort zone.

The surface of rocks tells a rich story of their geological history and the environmental conditions they’ve endured. Whether it’s the smoothness of river rocks, pebbles on a windswept beach or the jagged edges of rocks we find on hills and mountains, reproducing this complexity accurately is no small feat. While you want your rocks to look life-like, deciding just how much detail to include is difficult. I don’t have the patience to try and faithfully replicate every crack, fracture and mineral inclusion.
While it’s relatively easy to create highlights and shadows on fairy smooth surfaced rocks or those with a well-defined shapes, those with a more irregular aspects and textures often require a more nuanced approach. Overemphasising or underemphasising texture can make a huge positive or negative difference to an overall piece of work and the level of satisfaction you draw from your work.
When you think about all the small details – the cracks, the lichen, the moss – and how they all contribute to the overall texture of the rock, achieving the desired texture really does call for patience.
Medium and tools
Your choice of painting mediums and tools can help you to achieve satisfactory texture and an overall result you’re pleased with.
Acrylics
For instance, you may find working with acrylics easier than watercolours. Acrylics are opaque; you can layer colours and build up texture, helping you capture depth and complexity.
Impasto1 is great for replicating the rough and tactile nature of rock. Using a palette knife is excellent for creating three-dimensional texture. With acrylics, you control these elements, allowing you to emphasise the play of light and shadow. Acrylics are also very versatile, as they lend themselves well to techniques such as dry brushing or stippling, which can effectively mimic rock textures.
Watercolours
Watercolours, on the other hand, are renowned for their transparent quality. I’ll add here that watercolours aren’t very forgiving, at least I’ve not yet found any magical way to correct mistakes. Watercolours are great for creating subtle and nuanced variations in colour to illustrate delicate and intricate textures.
Some watercolour pigments granulate, which helps in creating natural-looking textures. Granulating pigments also settle into the paper’s surface which can add even more depth and authenticity to your painting. I experimented recently with Brusho Crystal which is an ink powder. What I particularly like about Brusho Crystals is the way that if you drop them onto a wet surface, the separate pigments (which make up the colour) appear.

Like acrylics, you can build up transparent layers of watercolour to achieve a sense of depth and create soft, subtle shadows, which is particularly effective when painting rocks in a natural environment with soft light and shadows to enhance the texture and depth of the rocks.
Tips and Techniques
I’d like to leave you with these tips and techniques for painting rocks. Feel free to share your tips and tricks.
- Study Real Rocks: Observe and study actual rocks, either in nature or through reference images. This will help you understand their textures and shapes.
- Texture and Colour Variation: Rocks come in various textures and colours. Use a variety of brush strokes and colours to capture these variations. This adds depth and realism to your painting.
- Layering: Build your painting in layers. Start with a base color and then add layers for shadows, highlights, and details. This creates a 3D effect.
- Dry Brushing: Dry brushing is a technique where you apply paint with a nearly dry brush. It’s great for creating the rough texture of rocks.
- Use a Palette Knife: A palette knife is excellent for recreating the jagged and uneven surfaces of rocks. You can also use it for scraping and adding texture.
- Add Moss or Lichen: If you want to incorporate some moss, you can do so by carefully adding green tones in crevices and cracks in the rocks and a sponge is great for this.
- Study Light and Shadow: Understand how light falls on rocks. Pay attention to the direction of light and create realistic shadows and highlights.
- Use Earthy Tones: Rocks often have earthy colours. Use shades of brown, gray, and even subtle blues to capture the natural colours.
- Details: Add small details like cracks, fissures, or mineral streaks to make your rocks look more authentic.
- Step Back and Review: Step back from your painting and assess it. Walk away, rest your eyes, hands and arms. Have a coffee then come back and asses your canvas again before deciding on any adjustments you feel would enhance the overall work.
Wishing you all a wonderful and inspiring week ahead.
- An Italian word for “mixture,” used to describe a painting technique wherein paint is thickly laid on a surface, so that brushstrokes or palette knife marks are visible ↩︎
